In order to get a full potential of Cost2Profit you need to install the following WordPress components:
Compulsory:
- Your website on WordPress
- C2P Plugin (Cost2Profit Plugin – download here)
- Affiliate plugin (see integrated ones out of the box)
Optional (only if you want to track conversion via a contact form 7 on your webpage):
- Contact Form 7
- Flamingo (CF7 database)
- Other database plugin for CF7 (but Flamingo still needs to be installed)
How to set up a Cost2Profit plugin on my WordPress site?
You should receive a Cost2Profit installation file (.zip) in a welcome email.
After you download the file on your drive, go to your admin panel of the WordPress site.
Step 1: Click on Plugins on the left side and select “Add New.”
Step 2: Click on “Upload Plugin” near the top.
Step 3: Choose file with your Cost2Profit plugin.
Step 4: Hit “Install now.”

Step 5: After the installation is complete, find a “Cost2Profit” tab on the left navigation panel in your WordPress Dashboard.
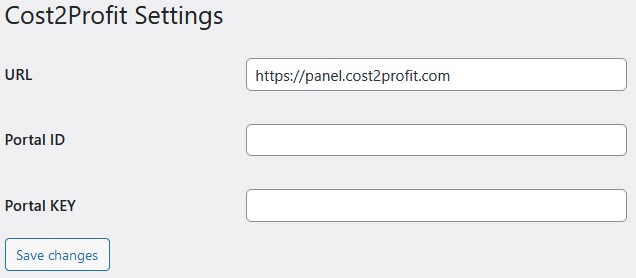
Step 6: Fill out the URL, Portal ID and Portal Key. The information needed here is in your Cost2Profit panel, under “My websites.”

Step 7: Select the relevant website and copy over Portal ID and Portal Key into a WordPress plugin.


Contact Form 7 Integration set-up (optional)
Step 1. Install Flamingo database for CF7 and if you want also other database plugin for CF7
Step 2. In order to track leads submitted via Contact Form 7 you need to place a some Cost2Profit shortcodes in a specific Contact From you want to track just before a “send” button. Please see a full tutorial: How to sync up Cost2Profit with a Contact Form 7?
What’s next?
Now, login to Cost2Profit panel here and follow the next step: How to add a campaign in Cost2Profit?