If you would like to track conversions on your contact form (because you may not be an affiliate partner), you can also do that with Cost2Profit.
You can set up a campaign to track conversions on the contact form on your website. Yes. Cost2Profit allows you to track leads via your contact form.
How to set up a campaign for Contact Form 7 in Cost2Profit?
You can set up your campaign in a couple of easy steps.
In order for tracking to work, you will need 3 plugins (all installed and active):
- Cost2Profit plugin – learn more about how to set up the plugin here.
- Contact Form 7 plugin in WordPress
- Flamingo plugin in WordPress
- UniqueID for Contact Form 7 plugin in WordPress
- You can also use other database plugin for CF7 but please remember to keep Flamingo plugin activated as well.
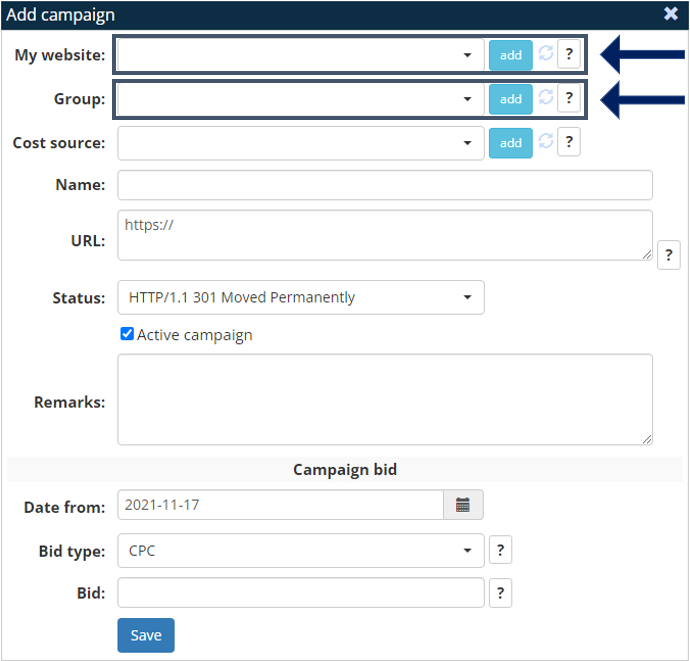
Step 1: Click on add a campaign.

Step 2: Select or enter your website.
Step 3: Select or enter a group which the offered product/service from this campaign should roll up to. While not required, this field is recommended. It will allow you to better understand performance of products and services from similar or the same categories.
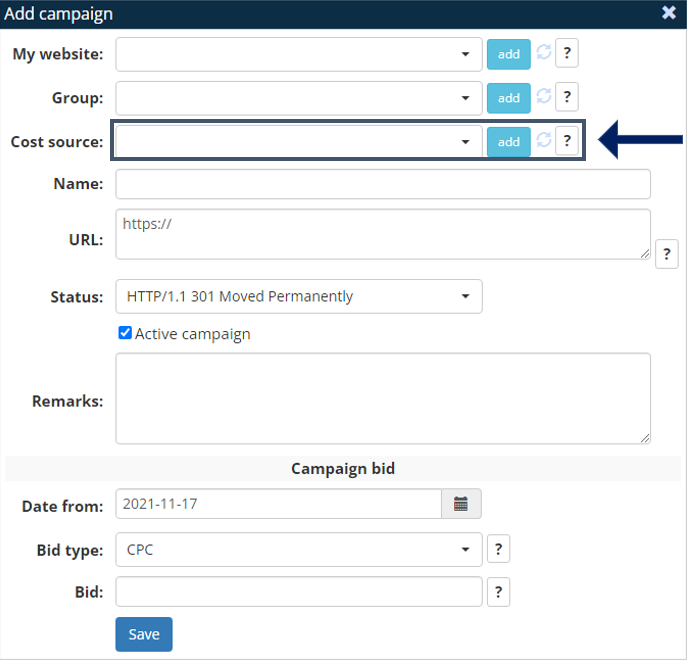
Step 4: Select or enter a cost source. A cost source defines where the traffic is coming from. For instance, a source can be a specific ad campaign on Facebook, Google or another external source.
This field is not required. Whether you assign a cost source or not depends on your individual needs.
Step 5: The field “name” is a place for the name of your campaign.
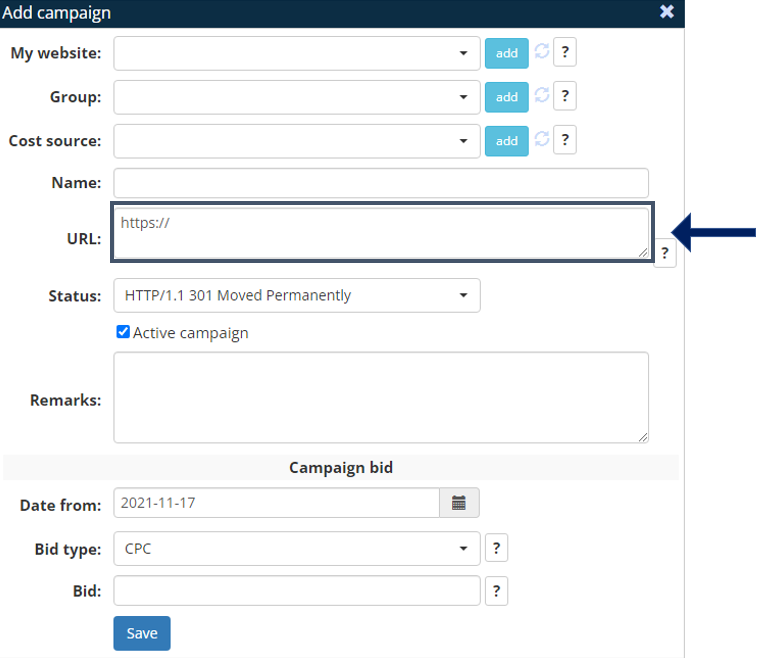
Step 6 (optional): When you are setting up a campaign only to connect with a Contact Form 7, simply place the URL of your contact form site so you know what contact form the campaign directs to. You can also leave it blank.
Step 7 (optional): The field “remarks” serves as a place for any comments or annotations.
Step 9: Campaign bid defines the type and amount of monetization:
- CPA: if you earn per each conversion (acquisition), you want to select “CPA” along with the value the affiliate network pays you for each conversion/acquisition on the specific product/service.
- CPC: if you earn per each click, you want to select “CPC” along with the value the affiliate network pays you for each click on the specific product/service.
- CPS%: if you earn a % commission of each sale, you want to select “CPS%” along with the value the affiliate network pays you for each sal on the specific product/service. You should use CPS% only if your affiliate partner submits the value of each transaction in the parameter “val=”. Make sure that this parameter is present in the affiliate link.
Step 10: At this point, there are just 2 more steps to complete the setup.
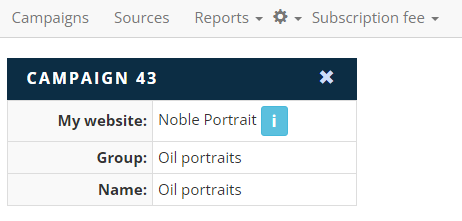
- Identify the campaign ID in your panel of Cost2Profit. As per example below, the campaign’s ID is “43.”
- Go into Contact Form 7, and add a short code right before [submit “Send”]:
[hidden cost2profit_kampania “[insert the campaign ID here]“][hidden cost2profit_val “[this is an optional shortcode – insert the field name of CF7 which you would like to track – usually an amount especially if your campaign is paid in CPS%]“][hidden submission_id_hidden cost2profit_lid “0”]
The snippets could look like this:
[hidden cost2profit_kampania “43”][hidden cost2profit_val “number-117”][hidden submission_id_hidden cost2profit_lid “0”]
Remember that second shortcode above is optional so don’t place it if you don’t use it.
